Quick Start
This guide will help you quickly get started with the Huayang CMDB system and understand the basic operation workflow.
System Preparation
Before starting to use CMDB, please ensure the following preparations are complete:
- Installation and Deployment: The system has been installed and deployed. For installation, please refer to the Installation Steps. The system will automatically install the built-in data models (CI types, relationship types, etc.).
- Data Import: You can use the Load Demo Data feature in the global toolbar to quickly import demo data.
- Modern browser (latest version of Chrome, Firefox, Edge)
- Network connection
- Valid user account
Login to System
- Open a browser and visit the system address
- Enter your username and password
- Click the "Login" button
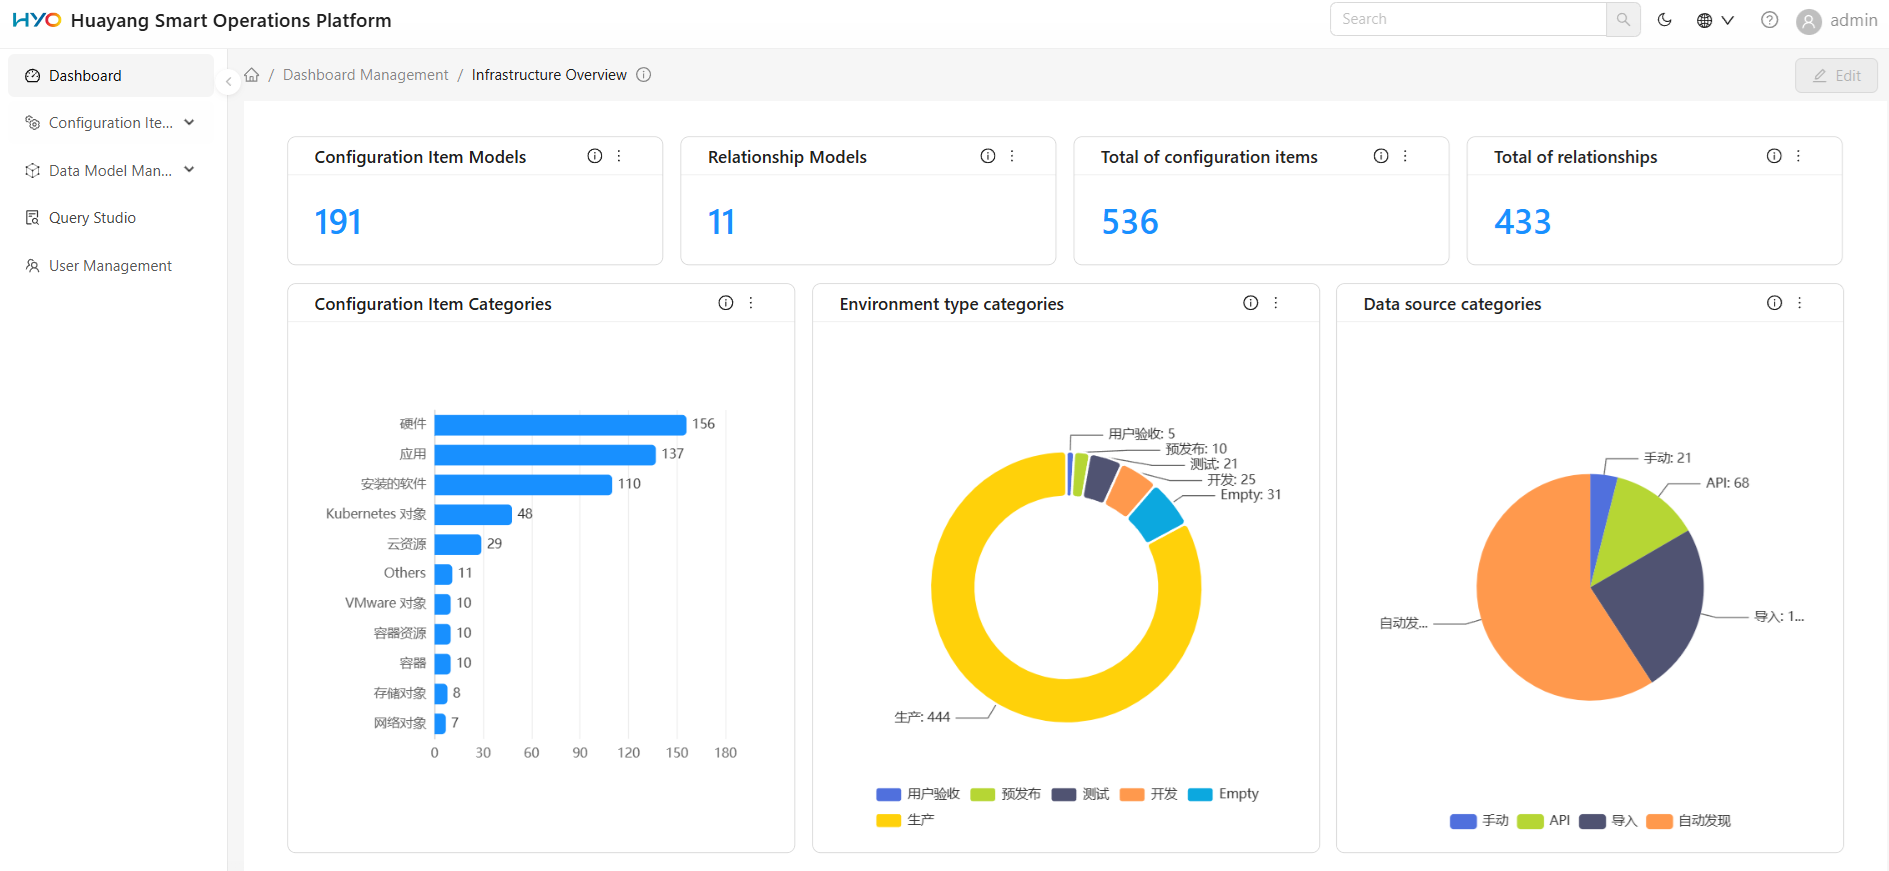
After logging in, you will see the main interface of the system:
- Sidebar: Left navigation menu, organized by functional modules
- Main Area: Displays the content of the currently selected module
- Breadcrumb: Navigation path showing current location at the top
Next, we will walk you through the core features of the system using three common operations scenarios.
Scenario 1: Browse and Find Configuration Items
You receive a ticket and need to confirm the current operating environment of a server named "web-prod-03". You're not sure which type it belongs to, but you remember the name contains "web".
The system provides three ways to find CIs, and you can choose based on your situation:
Quick Location via Global Search
- Enter "web-prod-03" in the search box at the top of the page
- Search results display matching CIs in real time. Click on the target item to enter the detail page
Browse via CI Directory
If you want to browse systematically by type:
- Select Configuration Items > CI Directory in the left navigation bar
- Select the target type in the left type tree, such as selecting
Computerto view servers - The right list displays all CIs of that type. Enter "web-prod-03" in the search box above the list to locate the target server
- Click the display name of the CI to enter the detail page
Filter via CI List
If you need to batch filter by preset conditions (e.g., only view production environment servers):
- Select Configuration Items > CI List in the left navigation bar
- Select an existing list view in the left view (e.g., the
Computerlist) - The right list displays CIs according to the view's defined conditions. Enter "web-prod-03" in the search box to locate the target
View CI Details
Regardless of how you find the CI, after entering the detail page, you can learn about different dimensions of information through tabs:
- Details: View all attributes, such as serial number, operating system, CPU cores, operating environment of "web-prod-03"
- Components: View the lower-level components of this CI (e.g., network adapters, IP addresses, disks, file systems, installed software)
- Dependencies: Display the relationships between this CI and other CIs graphically, intuitively understanding upstream and downstream dependencies
- History: View all modification records of this CI, including change time, operator, and change content
Scenario 2: Asset Management — From Defining Types to Entering Data
Your department has purchased a batch of load balancers and needs to establish the corresponding data model in the CMDB and enter device information. The system currently does not have this type, so you need to define it from scratch.
Step 1: Define CI Type
- Select Data Model Management > CI Type in the left navigation bar to enter the type management page
- Select an appropriate parent type in the left type tree (e.g., select
CI→Hardware→Host→Network Deviceas the parent type for load balancers) - Click the Add CI Subtype button at the top, and fill in the basic type information:
- Name: Unique identifier for the type (e.g., "ci_lb_custom")
- Display Name: Name displayed on the interface (e.g., "Load Balancer")
- Switch to the Attributes tab to add attributes specific to this type (e.g., "Load Balancing Policy", "Listener Port", "Backend Server Group")
- Switch to the Relationships tab to define valid links for this type (e.g., allowing a
depends onrelationship with Computer) - Click OK to save the type definition
Step 2: Define Relationship Type (if needed)
If the system's built-in relationship types (e.g., depends on, contains) do not meet your needs, you can customize them:
- Select Data Model Management > Relationship Type in the left navigation bar to enter the relationship type management page
- Click the Add button to define a new relationship type (e.g., "Load Distribution")
- After saving, return to the CI type management page to configure valid links for this relationship type
Step 3: Create CI Instance
Once the type definition is complete, you can enter actual devices in the CI Directory:
- Go to the Configuration Items > CI Directory module
- Find the newly created type in the left type tree (e.g., "Load Balancer")
- Click the + button above the right list, and fill in the device attributes (device name, serial number, etc.)
- After saving, the CI will appear in the list
- To establish relationships, go to the Dependencies tab of the CI detail page and link the load balancer to the corresponding servers
Scenario 3: Business Impact Analysis — Query Service and Infrastructure Relationships
Customer service reports that an OA system has malfunctioned. You need to quickly determine the impact scope: which servers does this application run on? Which database instances does it depend on? If a server goes down, which business services will be affected?
The system has built-in depends on relationships between Application and Computer, Database Instance. You can define topology queries through Query Studio to reveal these associations.
Step 1: Create Query Definition
- Select Query Studio in the left navigation bar to enter the query definition list
- Click the + button above the list. In the popup, enter the query name (e.g., "business_impact_analysis") and display name (e.g., "Business Impact Analysis"), then click Create
- Find the newly created query in the list, and click the display name to enter the visual editor
- In the CI Types tab's type tree, select
Application,Computer, andDatabase Instancein turn, and click Add to add them to the canvas as query nodes - Draw a
depends onconnection line from theApplicationnode to theComputernode, then draw anotherdepends onconnection fromApplicationtoDatabase Instance - Click the Save button in the top right corner to save the topology query as shown below
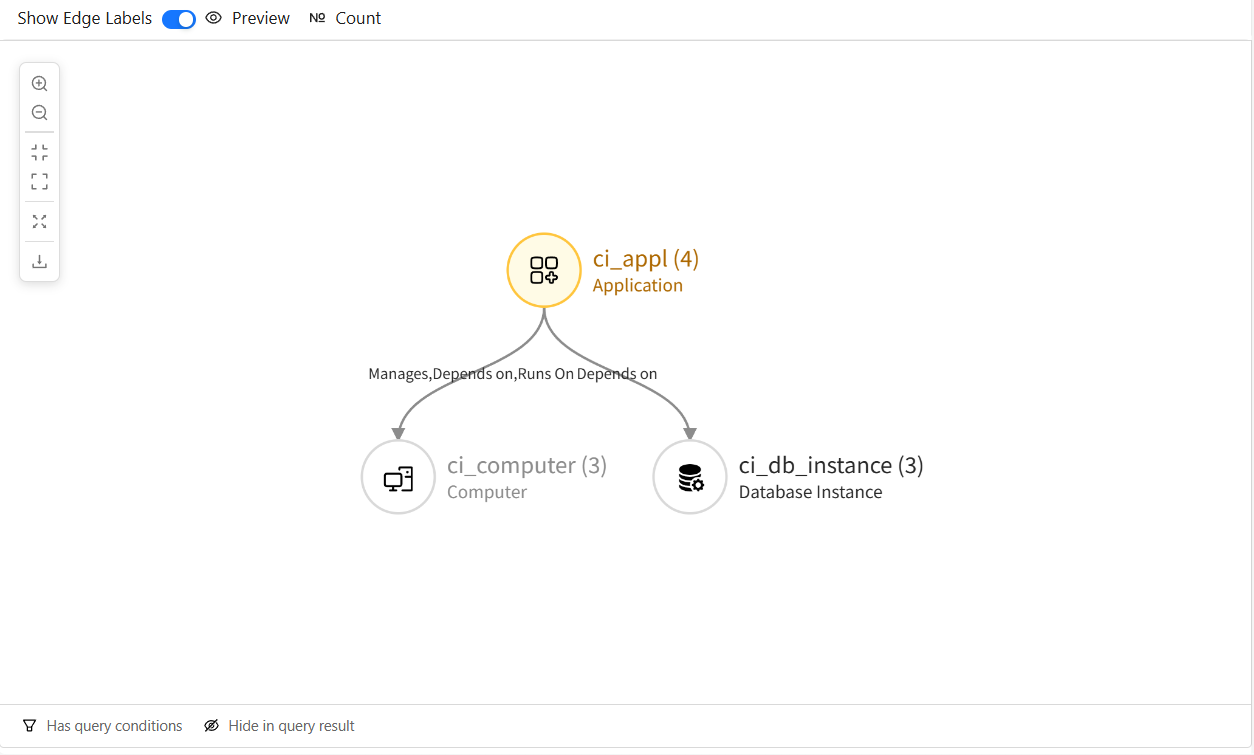
Step 2: Preview Query Results and Analyze Business Impact
- Click the Preview button above the topology diagram to view the query results
- Preview results support two view modes:
- List View: Grouped by query nodes, clearly listing the CIs and their types involved in each node
- Graph View: Displays the actual relationships between CIs as a topology diagram (as shown below), making it easy to quickly determine the impact scope

Next Steps
Now that you understand the core usage scenarios of Huayang CMDB, you can:
- Read Core Concepts to gain a deeper understanding of the system data model and design philosophy
- View the Glossary to understand professional terminology
- Explore detailed documentation for each module to learn advanced features
FAQ
Q: How to quickly find a specific CI?
A: Use one of the following methods:
- Use type tree search in the CI Directory
- Find the corresponding resource list in the CI List and use the search function
- Use global search
Q: Can CI types be deleted?
A: Custom CI types can be deleted, but note:
- If there are CI instances under that type, you need to delete or migrate the CIs first
- System built-in (OOB) types cannot be deleted
- Deletion operations cannot be undone
Q: How to batch import CIs?
A: The current version does not support direct batch import of CIs.
Q: Is dashboard data real-time?
A: Dashboard data is retrieved in real time when viewed. To get the latest data, you can refresh the dashboard page.
Q: Does the system support multiple languages?
A: Yes, the system currently supports Chinese and English. You can switch languages in the global toolbar.
Q: Can data modifications be undone?
A: Most operations cannot be undone, but:
- CI modifications have change history records
- Delete operations have confirmation dialogs
- It is recommended to back up data before important operations
Q: How to improve system performance?
A:
- Use filter conditions reasonably to avoid querying large amounts of data
- Regularly clean unnecessary data
- Use indexes and optimize query definitions